In this post I’m going through the steps required for setting up a Windows Server 2019 VM in Oracle VirtualBox on a Windows 10 host.
In a previous post, I’ve covered how to build an Ubuntu VM and install SQL Server on it.
Prerequisites
- Oracle VirtualBox – I’m currently using version 6.1.40
- Windows Server 2019 evaluation ISO
- Sufficient drive space – In my example I’ll be creating two dynamically allocated virtual disks (C drive – 80GB, D drive – 40GB)
Creating the VM in VirtualBox
I’ll start by building a new VM.

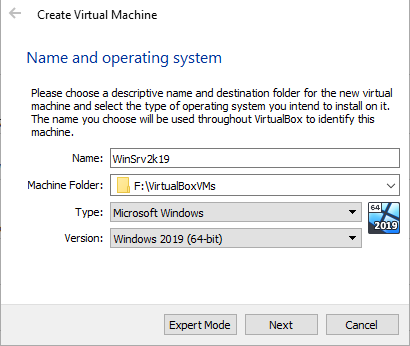
I then specify the VM’s name, its folder, OS type and version – Windows Server 2019 64-bit.
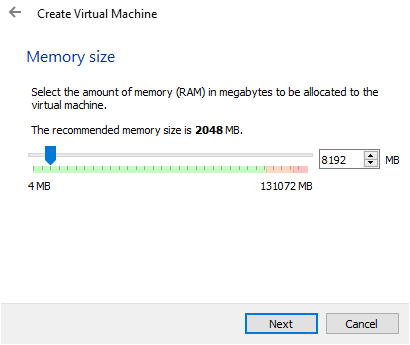
I proceed by allocating 8GB of RAM to the VM.
In the next prompt I leave “Create a virtual hard disk now.” and press “Create”. Then leave the hard disk file type as VDI (VirtualBox Disk Image) and press “Next”. And set the storage to “Dynamically allocated” before pressing “Next” again.
I set the size of the virtual disk to 80GB – this will be my C drive.

After the VM is created, I right click on it and go into its settings.

In the “Processor” tab of the “System” section I increase the core count to 4.

Now to add a second virtual disk drive – this will be the 40GB D drive.
I go into the “Storage” section and press the “add hard disk” button.

Then, in the “hard disk creator” menu, I press “Create Disk Image”.

Afterwards I follow the same steps as when creating the initial virtual disk for the VM. I leave VDI as the disk file type, press “Next”, set it to “Dynamically allocated”, set its size to 40GB and then press “Create”.

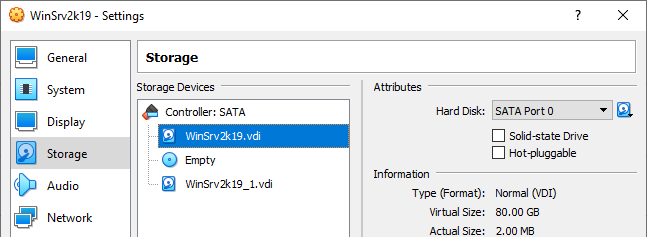
Once created, I select the new disk and click “Choose” to attach it to the VM.

Now the VM has 2 disk drives and one optical drive.
While I’m in the “Storage” section, I also attach the Windows Server 2019 Evaluation ISO by selecting the optical drive, expanding the disk drop-down menu and clicking on “Choose a disk file…”.

This opens up a file explorer window in which I can navigate to where I’ve downloaded the “WinSRV2019_latest_release_svc_refresh_SERVER_EVAL_x64FRE_en-us_1.iso” file so that I can attach it to the VM’s optical drive.

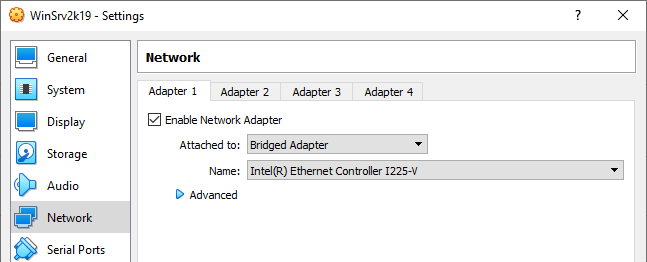
Afterwards, I navigate to the Network section set the network as bridged since I want the VM to be accessible from the rest of the LAN.
This concludes the configuration part of blank VM.
Installing Windows Server 2019 on the VM
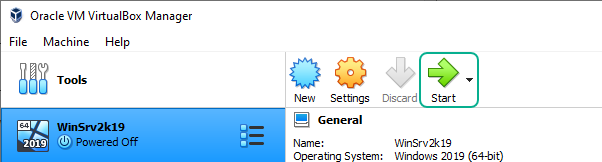
Time to start up the VM and proceed with the OS installation part.
Once VM boots up I elect the language and regional settings that I want to use.
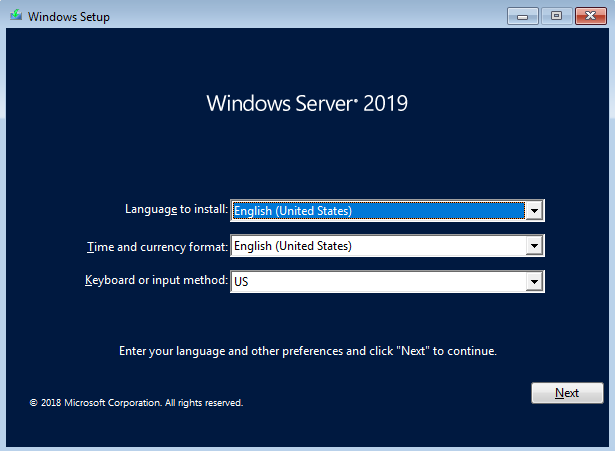
And click “Install now” in the next screen.

I opt to install the Windows Server 2019 Standard Evaluation with desktop experience.

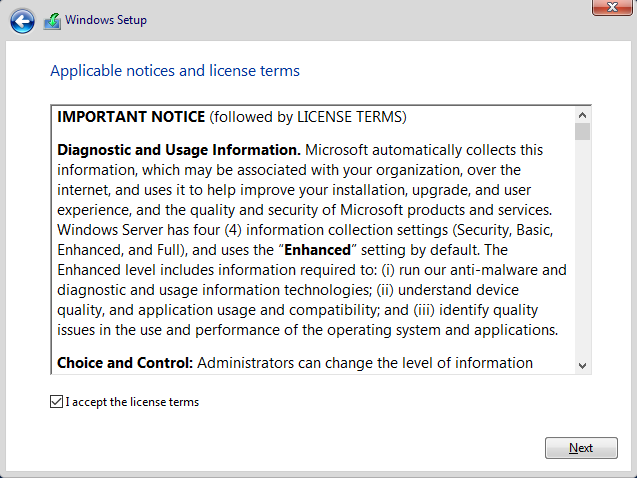
Accept the EULA.
For installation type I click on “Custom”, because there’s really no previous version of the OS to upgrade from.

I then proceed with the partition configuration part.
First, I select the disk that’s going to end up being the system drive, click on “New” and then “Apply” in order to create a new partition.

Click “Ok” on the prompt informing me about the creation of additional system partitions.

Proceed to do the same for the second partition.

Now I can select the partition on which the OS should be installed and click on “Next” to begin the installation.

After the install process finishes, the VM reboots and a prompt to “press any key to boot from CD/DVD” appears, I just wait for the prompt to time-out since I want to boot directly in Windows.
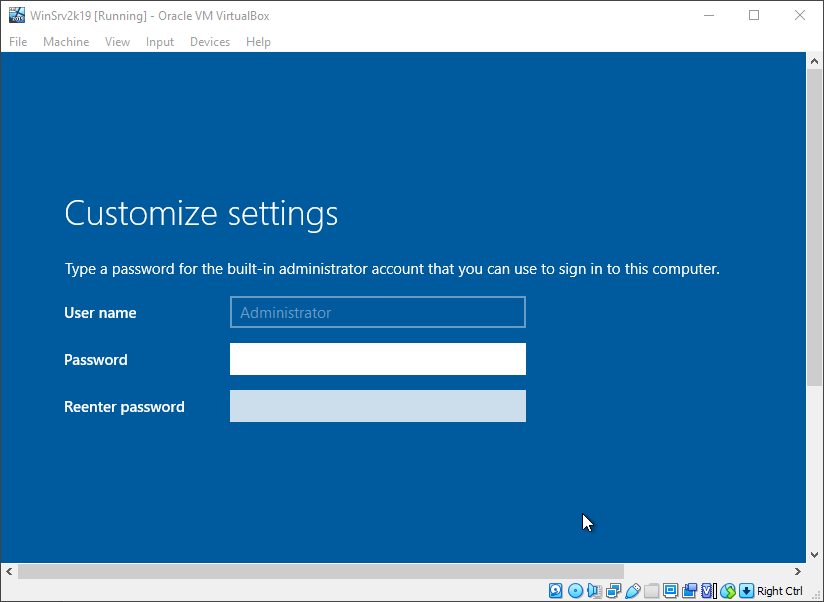
Once the OS boots up, it asks for an admin password to be set up.
At the logon screen I send the Ctrl+Alt+Delete input to the VM.

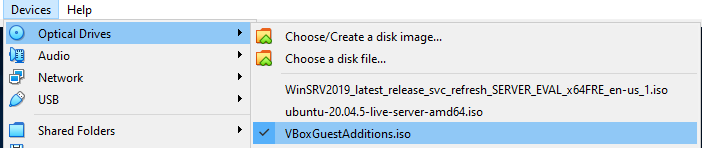
And log into Windows. At this point I can eject the installation media and mount the VBoxGuestAdditions disk. If it doesn’t show up in the drop down list, it is located in “C:\Program Files\Oracle\VirtualBox\”.
Once the disk is mounted, I navigate to it in File Explorer and proceed with the installation of the guest additions. I reboot the VM when the install process prompts me.
One last and optional part – after the VM boots up again I run the following commands in admin PowerShell to rename the VM, but also make sure that the current network profile is set to private so that the firewall won’t block me if I try to connect to SQL Server or anything else that I might install later.
| 1 2 | Rename-Computer WinSrv2k19 get-netconnectionprofile | Select -ExpandProperty name | %{ set-netconnectionprofile -name $_ -networkcategory "private" } |

In case of poor VM performance
If you notice that your VM is slow, freezes or crashes, you might want to check out this post for a potential fix.